 how-to
How Do You Prepare Your Landscape for Holiday Lights?
Last Updated: October 25, 2026
Quick Summary
Prepare your landscape for holiday light installation by walking the property in daylight and at dusk, sketching a map with measurements, and marking every light zone. Then clear leaves and debris from beds and walkways, flag irrigation heads and fragile plants, test GFCI outlets, and confirm all lights and cords are outdoor-rated before the crew arrives.
- Call 811 before driving any stake deeper than a few inches near utilities; the marking service is free.
- Keep extension-cord connections above grade and weatherproofed, never buried in mulch or soil.
- Wrap trees in a loose spiral so you can slide a finger between the strand and the bark.
- Use LED lights on evergreens because they give off far less heat than incandescent strands.
- Schedule holiday light installation in early fall, before the first freeze and the holiday rush.
Table of Contents
- Why Prepping Your Landscape Matters Before Holiday Light Installation
- Your Holiday Light Installation Preparation Checklist
- Protecting Plants During Holiday Light Installation
- Electrical Load, Outdoor Ratings, and Weather Protection
- When to Schedule Holiday Light Installation
- Holiday Lighting Landscape Design Ideas That Fit Your Property
- Get Your Holiday Lighting Plan on the Calendar
- Frequently Asked Questions
Why Prepping Your Landscape Matters Before Holiday Light Installation
A clean, mapped property is the difference between a smooth holiday light installation and a week of tangled cords and bruised shrubs.
Preparation is not busywork. It protects your plants, keeps your electrical setup safe, and cuts installation time.
Here is what most homeowners get wrong: they buy lights first and think about the landscape second. Flip that order.
Below, we break down exactly how to get your landscape ready, from mapping the property to protecting every shrub and tree.
Your Holiday Light Installation Preparation Checklist
A holiday light installation preparation checklist keeps the job organized and safe, but the version that actually saves time is landscape-specific. Start with a full walk of the property, clear the areas where lights and stakes will go, confirm your power sources, and protect anything buried or fragile before anyone climbs a ladder.
Use this as your working list:
- Walk the property in daylight and again at dusk, noting rooflines, trees, walkways, and slopes
- Sketch a simple map with measurements and mark every light zone
- Clear leaves, debris, and old mulch from beds and walkway edges
Walk the Property and Map Your Plan
Walk the property in daylight and again at dusk. Daylight shows you the structure; dusk shows you where light will actually read. On that walk, measure the roofline, note roof height and pitch, and mark every tree, shrub, and walkway you want lit.
As you map, note the property-specific constraints that shape the plan: slopes that make ladder footing unstable, low spots where water pools after rain, paths the public or delivery drivers use, doors and gates that must stay clear, and where pets or children move through the yard.
Clear Beds, Walkways, and Anchoring Zones
Clear the ground before the crew arrives. Rake leaves, pull spent annuals, and cut back perennials in the garden beds.
Mark your anchoring zones too. Flag spots for lawn stakes, note where cords will cross grass, and keep paths clear for foot traffic.
Ground conditions change the anchoring method. In wet or thawing soil, stakes pull loose; in compacted or frozen ground, they barely penetrate.
Protect Irrigation and Fragile Plants Before the Crew Arrives
Two categories of damage cause most callbacks: cut irrigation lines and crushed plants. Cap or flag sprinkler heads in the lighting zone, note the direction of spray so lights and cords stay out of the water path, and remind anyone staking the beds where the lines run. For fragile plants, newly installed shrubs, thin-barked trees, and anything brittle in cold weather, mark them with a flag or ribbon so the crew drapes rather than wraps.
Stage Power, Tools, and Access
Confirm power before installation day. Test each outdoor outlet, confirm it is GFCI-protected, and note which circuit each outlet is on so strands can be spread across circuits instead of piled onto one.
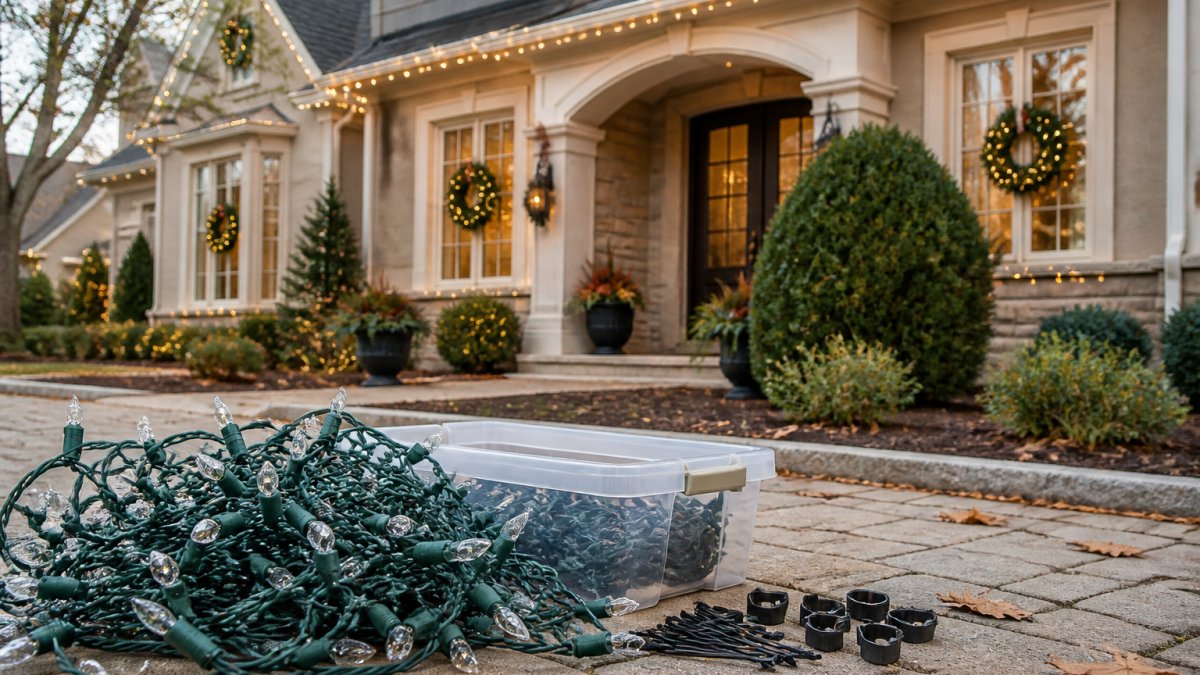
Keep a single labeled bin for clips, stakes, extension cords, and spare bulbs. A staged kit sounds minor, but it is the difference between a crew that finishes in a day and one that spends an hour hunting for the right clip.
Protecting Plants During Holiday Light Installation
Protecting plants during holiday light installation comes down to three rules: use LED lights, keep bulbs and cords off bark, and never wrap a living branch so tight that it cannot grow. Plants are dormant in winter, but they are not indestructible, and damage from tight wraps, hot bulbs, and crushed crowns often shows up the following spring, long after the lights come down.
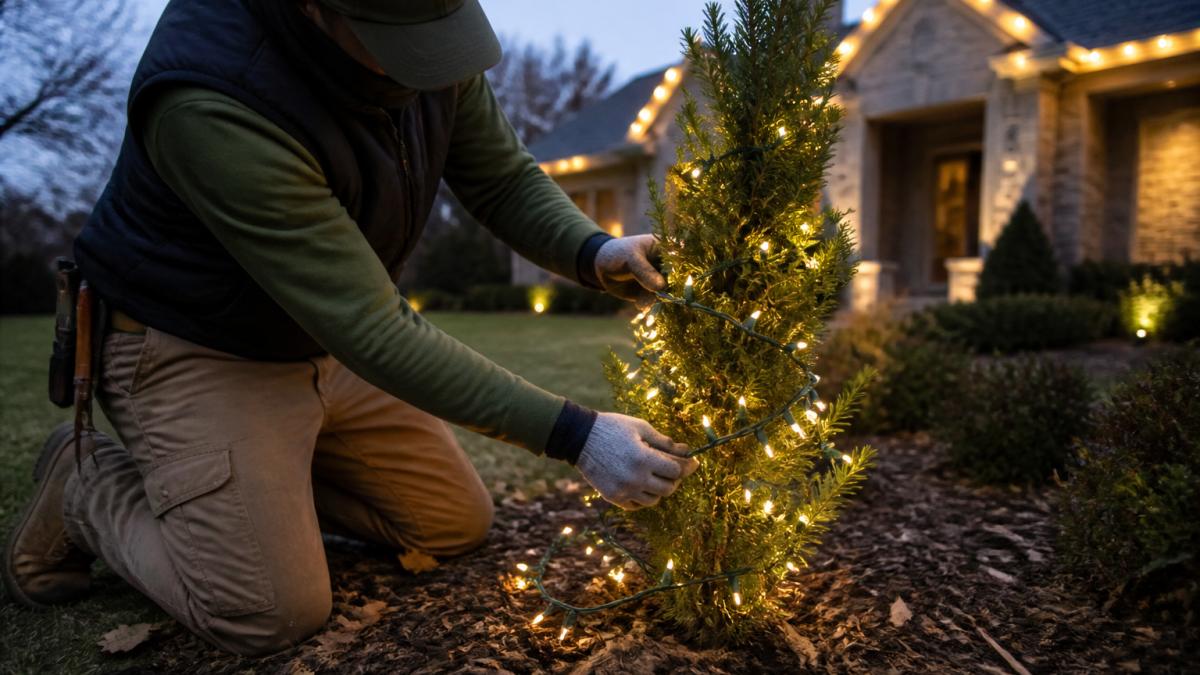
Follow these plant-safe methods:
- Trees and trunks: wrap loosely in a spiral with a visible gap between passes, never a tight coil against the bark
- Branches: clip lights along the branch instead of wrapping, so the branch can flex in wind and ice
- Shrubs: drape net lights over the top rather than crushing the crown
Match the Method to the Plant Type
The right technique depends on what you are lighting. Treat each plant type on its own terms:
- Evergreen shrubs (boxwood, holly, arborvitae): net lights draped over the outer canopy read best and avoid crushing the interior. Do not push strands deep into dense foliage, trapped moisture and crushed inner branches are the usual cause of winter dieback.
- Deciduous trees (maple, oak, birch): wrap the trunk in a loose spiral and clip along major branches. Thin-barked species like birch and young maples are the most vulnerable to girdling, so keep the strand tension light and check that the bark is not pinched anywhere.
- Delicate and newly planted shrubs: skip the wrap entirely. Use a ground-mounted uplight or a stake light aimed at the plant instead of attaching anything to it.
Avoid Bark Damage and Girdling
Bark damage happens in two ways: physical constriction and heat. A strand pulled tight around a trunk can girdle a young tree as it grows, cutting off the flow of water and nutrients under the bark. Even a loose wrap can cause problems if it is left on for months and the tree moves in winter wind.
Use clips or soft ties rather than wire or zip ties, and never staple or nail into bark. Keep bulbs off direct contact with the trunk, LED strands run cooler, but a bulb pressed against bark still traps moisture and can scorch thin-barked species.
Trim Before the Crew Arrives, and Time It Right
Trim before installation, not after. Cut back overgrown shrubs so lights sit on a clean shape. Remove dead branches and any limb that hangs over a walkway or roofline.
A common mistake is trimming right before the crew arrives and leaving clippings in the beds. Bag them, and give the plants a day to settle. If a shrub needs serious renewal pruning, do that in late winter or early spring instead of in the middle of the lighting season.
Plan Takedown and Storage to Protect Plants Next Year
Plant damage is not only an installation problem. Takedown done in a hurry, yanking strands off branches, pulling net lights through foliage, breaks buds and tears bark.
Inspect strands as you take them down, discard any with cracked insulation or damaged sockets, and store everything in labeled bins by zone. If you want to compare bulb types and heat output before you buy, see our guide on how to choose energy efficient holiday lights.
Electrical Load, Outdoor Ratings, and Weather Protection
Every light, cord, and connector you use outdoors must be outdoor-rated. That single rule prevents most holiday lighting problems. Indoor-rated products are not built for rain, snow, or cold.
A few electrical basics go a long way:
- Add up the wattage of every strand on a circuit
- Keep total load under the circuit's limit
- Use ground-fault protection on outdoor outlets
For a deeper look at bulb choices and wattage, see our guide on how to choose energy efficient holiday lights.
Watch out: daisy-chaining too many strands onto one outlet is the most common cause of tripped breakers and warm cords.
When to Schedule Holiday Light Installation
The best time to schedule holiday light installation is early fall, well before the first freeze and the holiday rush.
Aim to have your property prepped and your install date locked in by mid-fall. That gives you room to fix any issues, like a bad outlet or an overgrown shrub, without scrambling.
If you want the full timeline and planning steps, our holiday exterior lighting planning guide walks through the season month by month.
Holiday Lighting Landscape Design Ideas That Fit Your Property
Good design starts with your property, not a catalog. A roofline outline suits a classic colonial; wrapped trunks and net-lit shrubs suit a wooded lot. Match the lighting style to the architecture and the landscape.
Try these approaches:
- Cohesive color: pick warm white or a two-color scheme and stay consistent
- Layered light: combine roofline, tree, and walkway lighting
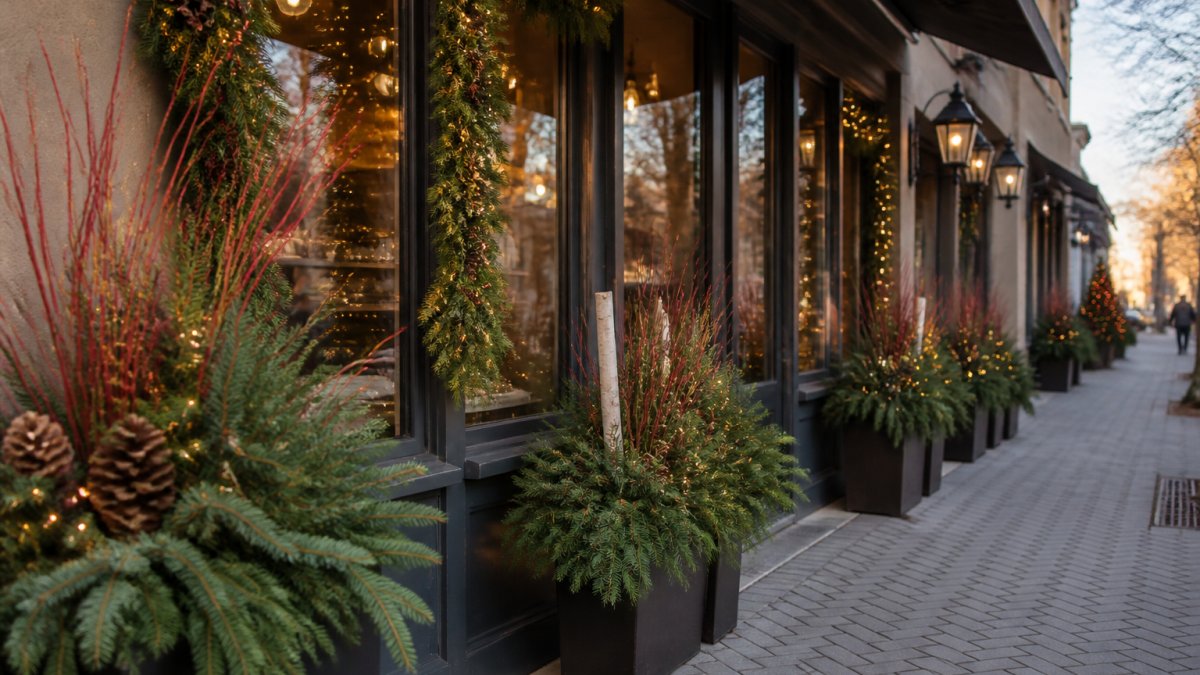
- Wreaths and garlands: frame doors and railings for a finished look
For more inspiration, browse our residential outdoor Christmas light design ideas to see what fits a luxury property. The right design should look intentional, not like every other yard on the street.
Get Your Holiday Lighting Plan on the Calendar
The hardest part of holiday lighting is not the lights. It is the timing, the prep, and the safety details that most people underestimate. Get ahead of the season and the rest falls into place.
Four Seasons Landscaping NY handles the full job, from design to installation to takedown. We bring 20+ years of experience, a fully insured crew, and transparent quotes with no hidden fees. You get one trusted team for the whole project.
Ready to start? Explore our professional holiday lighting and décor services and see how we transform a property for the season. When you are ready to plan, browse our holiday products for lights, wreaths, and garlands.
Get started with Four Seasons Landscaping NY and lock in your installation date before the calendar fills up.
Frequently Asked Questions
How do I prepare my yard for holiday light installation?
Start by walking the property and mapping where lights will go, then clear leaves, toys, and debris from beds and walkways. Trim back overgrown shrubs so strands sit on the plant rather than pulling branches. Test every reel and check outdoor ratings before the crew arrives, and confirm which outdoor outlets you plan to use. A written holiday light installation preparation checklist keeps the process moving and avoids day-of delays.
Can holiday lights damage trees or shrubs?
Lights themselves rarely harm plants, but the way they are attached can. Staples and nails driven into trunks open wounds that invite disease, and tight wraps can girdle a growing branch. Use clips or soft ties instead, and keep strands loose enough for the plant to move in wind. LED bulbs stay cooler than older incandescent options, which lowers the risk of scorching foliage pressed against a bulb.
When should I schedule holiday light installation?
Most crews book out weeks in advance, so schedule in early fall for an installation window from late October through mid-November. That timing lets you lock in your preferred dates before the rush, gives plants time to go dormant, and leaves room for a return visit if a strand fails. Waiting until December often means limited availability and rushed work.
What should I check before plugging in outdoor holiday lights?
Confirm every cord, reel, and connector is rated for outdoor use, inspect for frayed insulation or cracked sockets, and replace anything damaged rather than taping it. Keep connections off the ground where possible, use ground-fault circuit interrupter protection on outdoor circuits, and avoid daisy-chaining more strands than the manufacturer allows. Test the full run before the crew leaves so any dead section is caught early.
The season moves fast, and the best install dates go first. If you want your property glowing without the stress, reach out early. Four Seasons Landscaping NY offers full-service holiday lighting and décor, a fully insured crew, and clear quotes with no surprises. Get your free quote and get on the calendar.