 how-to
Residential Outdoor Christmas Light Design Ideas
Table of Contents
- Start With a Plan: How to Map Your Christmas Light Design
- Front Yard Christmas Light Ideas That Anchor the Whole Display
- Christmas Lights for Rooflines: Outlining the House Exterior
- Porches, Walkways, and Yard Displays: Lighting the Rest of the Property
- Warm White vs. Multicolor Christmas Lights: Choosing a Cohesive Palette
- Outdoor Christmas Light Installation Safety and Weatherproofing
- Maintenance, Storage, and When to Call a Professional
- Frequently Asked Questions
Last Updated: October 17, 2026
Start With a Plan: How to Map Your Christmas Light Design
Great residential outdoor Christmas light design ideas start on paper, not on a ladder. A Christmas light design is a mapped plan of focal points, measured runs, and a single color palette. At Four Seasons Landscaping NY, we have spent more than 20 years lighting Westchester County properties, and the displays that hold up all season are the ones drawn before anything gets plugged in.
Here is the part most guides skip: the plan matters more than the bulbs. A modest strand count on a well-mapped house beats a chaotic pile of lights every time.
Sketch the Focal Points Before You Buy a Single Strand
Stand at the curb at dusk and pick two or three spots the eye should land on first. The front door. A prominent gable. A large tree near the drive.
Everything else supports those anchors. This is the difference between a display and a tangle.
- Anchor 1: the entry, always lit
- Anchor 2: one roofline or gable
- Anchor 3: one large tree or yard feature
- Everything else: background fill
Measure Runs and Calculate How Many Lights You Need
Measure each run with a tape and write it down. For rooflines, measure the gutter line and add extra for peaks and returns.
Then estimate quantities. A common approach is to plan for roughly one strand per measured run, plus one spare per section for mistakes and outages. Buy all strands in one order so the color matches.
Front Yard Christmas Light Ideas That Anchor the Whole Display
Front yard Christmas light ideas work best when they guide the eye to the door. Think of the front yard as a frame, not a canvas.
Start at the walkway and work outward. Light the path edges, then the porch, then the beds. Keep the brightest lights at the entry so guests know where to go.
- Line the walk with stake lights or short path lights
- Wrap two porch columns or the railing
- Add a lit wreath centered on the door
- Place one lighted figure or urn arrangement to the side, never blocking the steps
A common mistake is lighting everything at once. Pick a hero element and let the rest support it.
Christmas Lights for Rooflines: Outlining the House Exterior
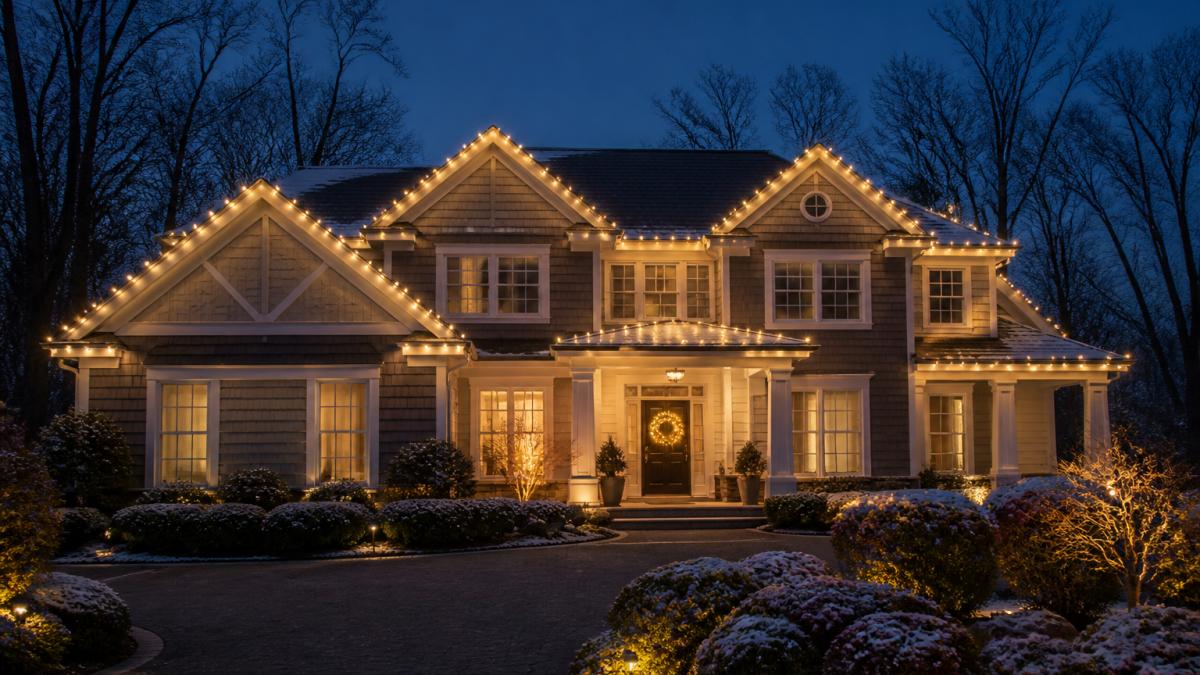
Christmas lights for rooflines should outline the architecture, not fight it. Follow the strong lines: gutters, gables, and eaves. Skip the busy corners. The difference between a crisp outline and a sagging mess is almost entirely in the attachment method, so plan that before you climb.
Match the Clip to the Surface
Most roofline failures are clip failures. Use the right hardware for each surface:
- Gutter clips, snap over the front lip of a standard K-style gutter and hold the wire just below the fascia. Fastest and least damaging option for the main run.
- Shingle tabs or roof clips, slide under the bottom shingle course without lifting shingles enough to break the seal. Good for gable rakes where there is no gutter.
- All-in-one clips, combine the clip and a light socket so bulbs stay evenly spaced and facing outward.
- Magnetic clips, work on steel fascia and metal trim but will not hold on aluminum or vinyl.
- Adhesive-backed hooks, reserve for smooth soffit and trim; they fail in cold and on textured surfaces.
Never staple through the wire, and never nail into shingles, both create leak paths and wire damage that show up weeks later.
Handle Peaks, Returns, and Spacing
Clip the gutter line first. That single run does more for curb appeal than anything else on the house. Then trace one gable if you have one.
At a peak, do not pull the strand tight across the apex, leave a small loop of slack so the wire is not under tension when temperatures drop and the strand contracts. At returns and corners, use an extra clip within a few inches of the turn so the run stays square to the architecture.
Keep spacing even. Uneven clips read as sloppy from the street, even in the dark. A common pattern is to place a clip every 12 to 18 inches on long straight runs and closer at corners and peaks. Buy clips in the same quantity as your bulb spacing so you are not short at the top of the ladder.
Porches, Walkways, and Yard Displays: Lighting the Rest of the Property
Porches, walkways, and yard displays carry the warmth of the whole design. This is where a display feels welcoming instead of cold.
Light the porch ceiling softly with warm white. Wrap the railing. Then move into the yard with a few deliberate pieces: a lighted snowman, reindeer, or snowflakes near the lawn edge.
Trees, Bushes, and Wrapped Greenery
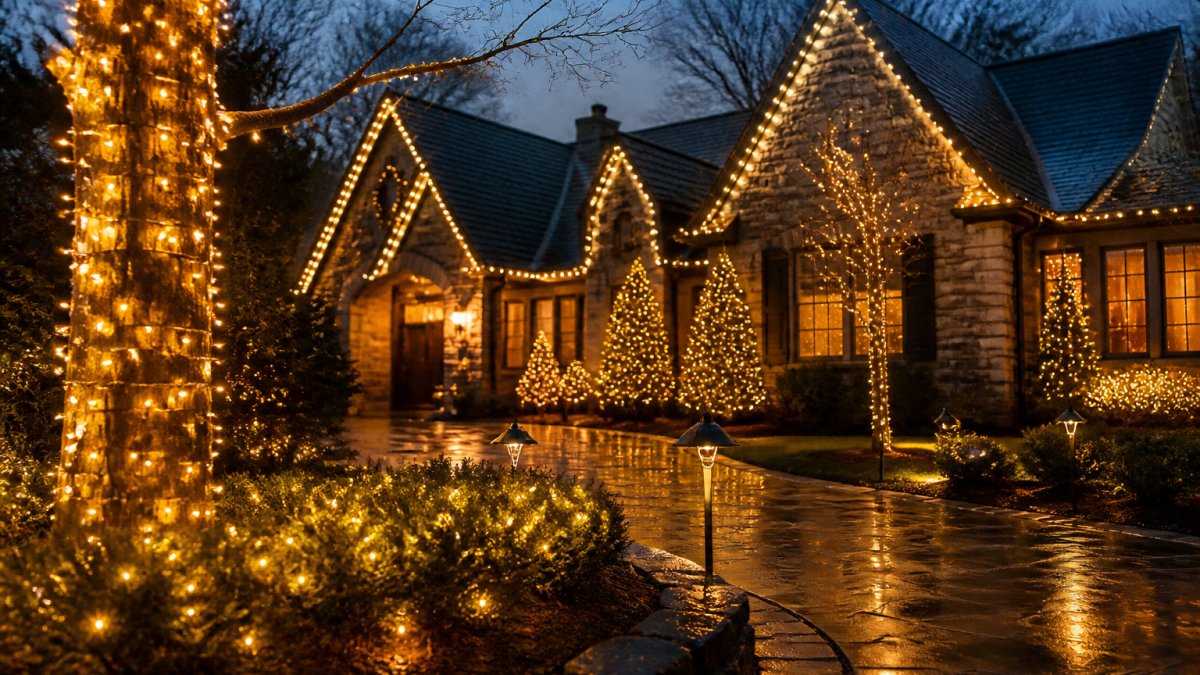
Tree wrapping is the workhorse of any yard display. Wrap trunks and main branches on the trees closest to the house. Drape bushes rather than wrapping every twig.
- Wrap trunks in tight, even spirals
- Drape shrubs with net or string lights
- Add lit greenery to window boxes and urns
- Keep cords hidden behind trunks and under mulch
Warm White vs. Multicolor Christmas Lights: Choosing a Cohesive Palette
Warm white vs. multicolor Christmas lights comes down to one question: do you want elegant or playful? Warm white reads classic and suits most homes. Multicolor reads festive and family-friendly.
Pick one and commit. Mixing both on the same house splits the eye and looks accidental. If you love color, use multicolor on the yard figures and keep the house warm white.
| Palette | Best For | Look |
|---|---|---|
| Warm white | Brick and stone homes, formal entries | Classic, elegant |
| Multicolor | Family homes, playful yards | Festive, bright |
| Warm white + red accents | Traditional displays | Cozy, seasonal |
Outdoor Christmas Light Installation Safety and Weatherproofing
Outdoor Christmas light installation safety starts at the outlet and ends at the last connection. Most holiday lighting problems are electrical or ladder-related, and both are preventable with a short checklist before anything goes up.
Electrical Load and Circuit Basics
Every circuit has a limit, and daisy-chaining strands past the manufacturer's rating is the most common cause of tripped breakers and overheated plugs. Check the label on each strand for its maximum connected wattage and never exceed it. If a run needs more length than one strand allows, use a proper outdoor extension cord rather than linking strands beyond the limit.
- Use a GFCI-protected outlet for every outdoor circuit. GFCI protection trips fast when current leaks to ground, which is exactly what happens with a wet connection.
- Keep total load on one circuit within the breaker's rating; split large displays across more than one circuit.
- Use outdoor-rated (marked for exterior use) cords and timers only. Indoor-rated cords crack in cold and are not sealed against moisture.
- Test every strand before hanging and discard any with cracked sockets, frayed wire, or loose bulbs.
Weatherproofing Connections
Water is the enemy of every plug. Keep connections off the ground, hang them so the plug faces down, and protect exposed joints.
- Elevate plugs on a stake or clip them under the eave.
- Wrap exposed connections with electrical tape or use a weatherproof connection cover.
- Do not bury connections in mulch or snow, meltwater pools there.
- After a storm, check connections and reset timers before powering back up.
Ladder and Roof Safety
Keep ladders on level ground and away from power lines. Never work alone on a roof, and never overreach, move the ladder instead. In cold weather, check that rungs and boots are free of ice before climbing.
The U.S. Consumer Product Safety Commission publishes holiday lighting safety guidance worth reading before installation.
Maintenance, Storage, and When to Call a Professional
Mid-season checks keep a display looking sharp. Walk the property weekly and replace dead bulbs. Clear snow from connections and reset timers after outages.
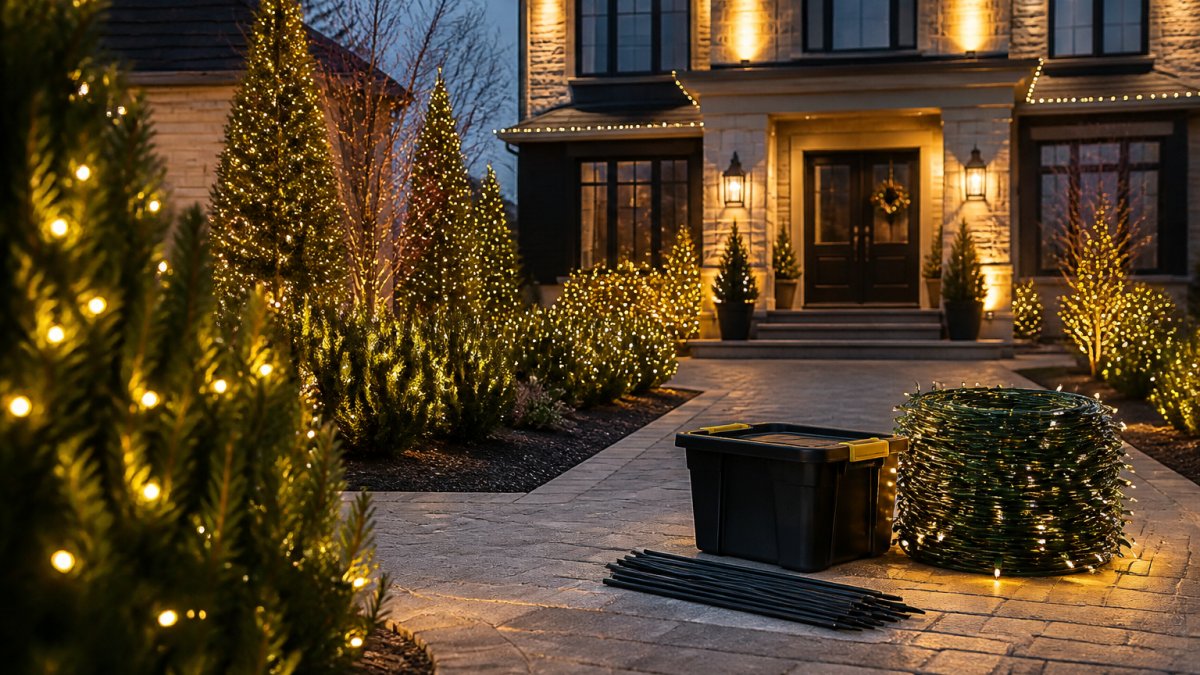
At season's end, label each run by location and store it in a sealed bin. Next year's setup takes half the time.
Some jobs are worth handing off. Roof work, tall trees, and large commercial-grade displays carry real risk. That is where a professional crew earns its keep. Four Seasons Landscaping NY handles holiday lighting and décor from design through takedown, fully insured and family-owned since 2004. You get one team, one quote, and no surprise change orders.
Frequently Asked Questions
How do I plan an outdoor Christmas light display for my home?
Start by choosing one focal point, usually the roofline or a large front window, then build outward to the porch, walkway, and yard. Sketch each surface on paper and measure every run before buying. Decide on a single color palette early so strands match. Group lights by zone so you can install and troubleshoot one section at a time, and leave room in your plan for extension cords and timers. A written plan prevents mid-install store runs and keeps the finished Christmas light design cohesive.
How many outdoor Christmas lights do I need for my house?
Measure each run in feet and divide by the spacing you want. Tight spacing of about 4 inches gives a solid outline, while 12 inches reads as a softer accent. A typical roofline run of 100 feet needs roughly 300 lights at 4-inch spacing or 100 at 12-inch spacing. Add 10 to 15 percent extra for corners, peaks, and mistakes. Buy all strands from the same batch so color temperature matches across the whole display.
Is it safe to hang Christmas lights on my roof myself?
Ladder work at height is where most holiday injuries happen. Use a stable ladder on level ground, keep three points of contact, and never lean out to reach a spot. Only use lights and cords rated for outdoor use, plug into GFCI-protected outlets, and keep connections off the ground. If your roofline is steep, two stories, or hard to access, hire a fully insured crew. Professional installers carry the right ladders and safety equipment and often handle takedown and storage too.
Should I choose warm white or multicolor lights for my exterior?
Warm white suits luxury homes because it reads as elegant, matches interior lighting, and photographs well against brick, stone, and dark siding. Multicolor brings energy and appeals to families with young kids or anyone who wants a playful front yard. You can also mix them by zone: warm white on the roofline and trees, multicolor on a lawn figure or porch tree. Pick one dominant palette so the display looks intentional rather than scattered.
The season moves fast, and the best displays get booked first. If you want a custom Christmas light design mapped, installed, and maintained without lifting a finger, Four Seasons Landscaping NY is ready. Our team brings 20+ years of experience, transparent quotes with no hidden fees, and a fully insured crew that shows up on schedule. Get your free quote today and let us light your property.